A couple of days ago I stumbled upon the following post on Betina Goldstein’s Instagram:
It is an awesome picture of her hand and her mani only seems to consists of dried flowers. Betina Goldstein is a editorial nail stylist and she is known for her minimalistic style. I have been following her on Instagram for quite a while and her style is just amazing!
It just happened that I picked up a dried flower nail art set a couple of weeks ago and I had no clue what to do with them (you might have seen me struggling on Instagram Stories). Betina Goldstein’s dried flower mani seemed like something even I could pull off.
After a careful inspection of Betina’s Instagram post I found out she used Essie Gel Couture Sheer silhouette as her base (affiliate link to Amazon). I couldn’t get my hands on this polish at such a short notice (I even went to the drugstore), but after some research work I found out that this shade is quite close to Essie Not just a pretty face (affiliate link to Amazon). Both shades are sheer polishes with a caramel undertone. The only difference is that Essie not just a pretty face is a little bit more opaque. Betina uses sheer silhouette for a lot of her mani’s so it might be worth picking up this shade.
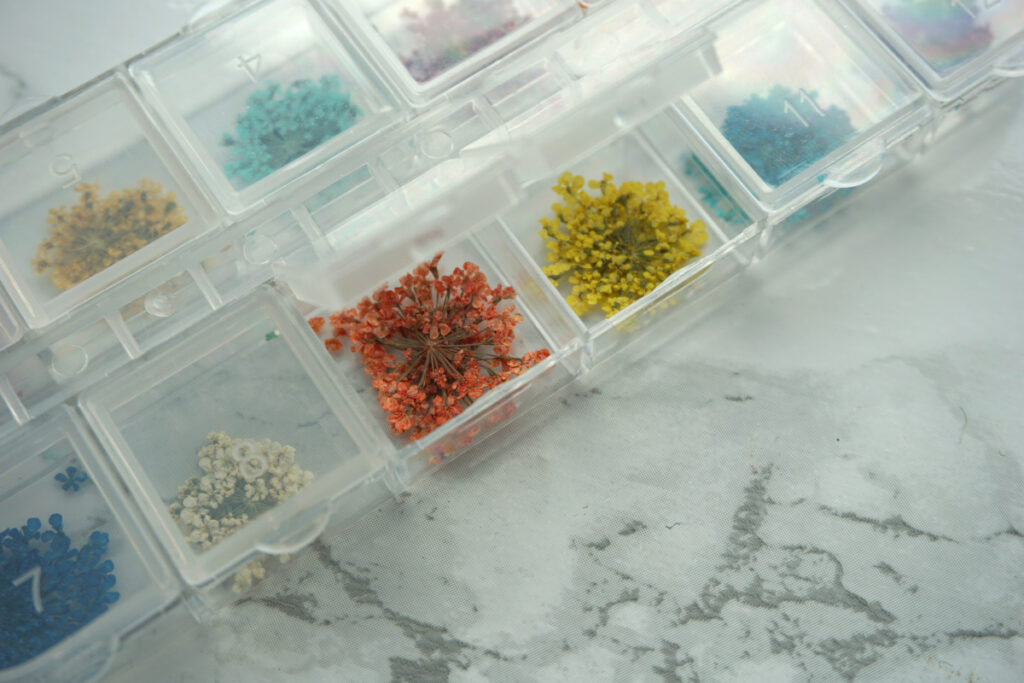
Surprisingly, the flowers were not difficult to track down at all, you can simply order them on Amazon over here (affiliate link). There are much more different types of dried flowers on Amazon, so it is definitely worth to look around for a bit. The particular flower I am using is called Ammi Majus, better known as Bishop’s weed.
To recreate the mani I simply followed the following steps (it is almost too easy to call this a tutorial).
- Apply the base color Sheer silhouette or Not just a pretty face (one coat is enough).
- Let it dry for half an hour or until it is dry.
- Break the flower into smaller pieces using a tweezer. The flowers will be easier to apply this way.
- Make a plan for the flower pattern you want to create on your nail, Betina uses most of the flowers in the upper right corners, but you can also do it differently. Using flowers with the same color will lead to a more coherent look.
- Put some topcoat on the flower and apply it on the nail using the tweezers.
- Do this for all the flower until you have a pattern you are happy with.
- Finish with one or two layers of topcoat (I used Essie good to go, affiliate link to Amazon).
That’s it! Well not difficult at all right? Well.. It ended up being a bit harder than I expected. There are a couple of things I want to say: the flowers are very brittle and are a bit flimsy to work with, it is therefore easier to break them up in smaller pieces than trying to apply them in one piece. I first tried applying the flowers on wet nail polish but this leads to smudges. I would therefore wait until your base polish is more or less dry. But really, if you follow these steps it is super easy!
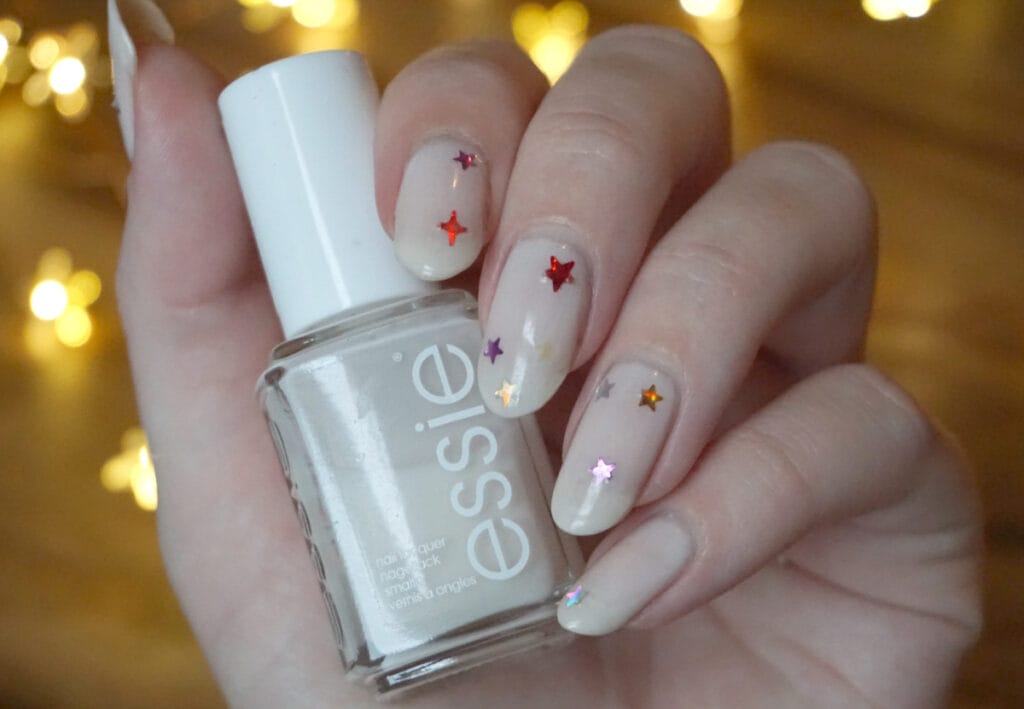
So this is my final result. It looks a bit different from Betina’s mani, but I would say that it is actually not that bad. Overall I am pretty pleased with the result! I though this would be more difficult to make. I really expected that this mani would require super expensive flowers. Turns out the flowers are just available for a very reasonable price and the Essie polish is also not that difficult to obtain or too expensive. I am super happy considering I am not a nail art guru like Betina is!
This post contains affiliate links. As an Amazon Associate I earn from qualifying purchases. I bought all these products myself.